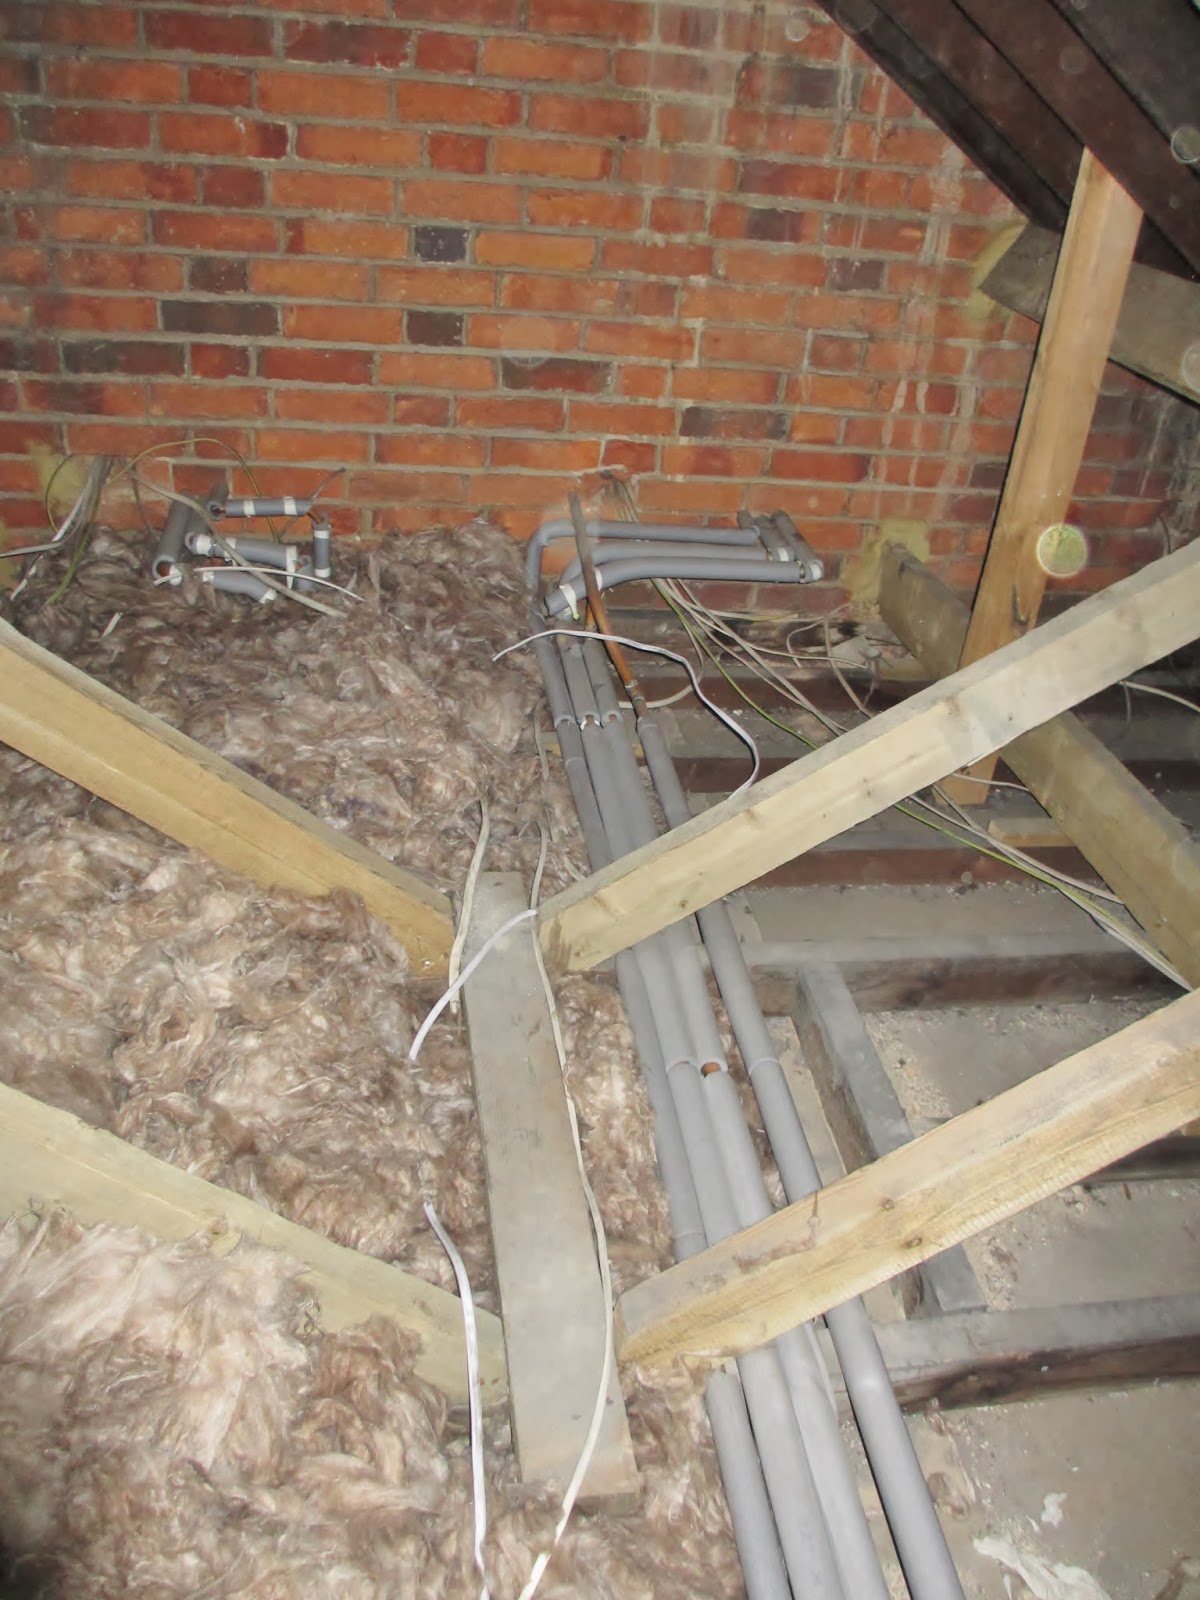
We did loft insulation on main house in the summer + we boarded it so it it perfect for storage. We used sheep wool as it is moisture absorbent and we didn't want to discover that we have to rip everything out because our timber is getting wet. With sheep wool we will not have this problem. It is a little bit pricey but it is worth it to have a peace of mind. Also it is nice to work with it! No itching!
This is our main house loft. Please mind we got a little bit crazy with staff. Hopefully we will reduce our possessions this summer.
Also our loft hatch is insulated.
Here is how the sheep wool insulation looks like. It is actually black sheep wool.
So main house done and nice and cosy we were thinking about our extension loft. And thinking and thinking. Why? Because access it for a really skinny 5 year old!
See!
Problem is that under is a build in fridge freezer and when I am seeing build in I mean glue on! That little bit of wood on top is not moving! I am size 8 and I can only squeeze in my head! So only solution is to carefully to try to prey it off. After 3 hours of praying it off ( with selection of 6 tools + whole of my weight) I managed to tear it off and not put it in pieces!
Then I sew off the wood on top. Not a pretty work but I was working with 25cm of space!
Here is my work.
I could just squeeze myself in. Then I did a run to the local Homebase and bought 2 rolls of 170mm carbon Zero loft insulation. Fun put it in my VW Polo. They are quite big!
I really in the end needed about 1 1/2 of them. One cost just £29.99. So all done for under £60!
It was quite a work to put it in the loft with this small space, but I have managed. After another 3 hours our extension loft looks very warm.
I have been very careful with electrical cables. I have put them all on top of insulation so they will not overheat.
We share this space with our neighbour! Left side ours and right his. When I have been there I actually could hear him in his kitchen! Very creepy. Luckily his loft hatch is boarded over!
See how small the hatch is and a half is over our fridge.
In the end I have managed to do it in 1 day. Just spend 2 hours cleaning everything in the kitchen. Insulation is made of recycled glass bottles but it isn't very itchy. I was quite happy to work with it. It was pre-cut and I just tear it in smaller sheets which were easier to put through our hatch.
I have attached the piece of "door" back with two screws (like a hanging a picture) So it is now removable if needed.
I have painted loft hatch with white emulsion. It was a little bit dirty from all dust.
So now your could not say that I have been chiseling it for 3 hours!
I am very happy that we have finally warm kitchen.


No comments:
Post a Comment